Building Shelves for the Garage
This past week I decided I needed more room to store some of my beekeeping gear.
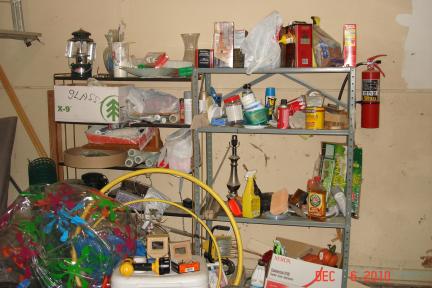
The workshop downstairs is a nice place to store stuff, but it's getting a little crowded. The garage has shelves, but they're small, overcrowded, and don't hold a lot of weight.
We took a trip to the hardware store, and purchased the following items:
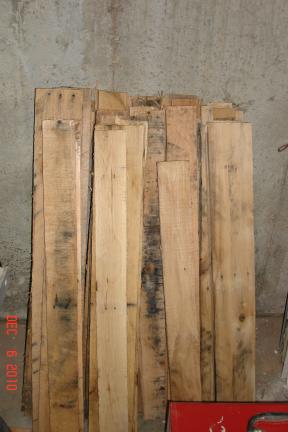 I have a stack of oak pallets from another project, so I cut up some of the extras, which I used as cross-beam support on the shelves.


To start I built a basic frame for the shelves, leaving the bottom shelf 1 inch off of the floor, to allow air flow under the bottom shelf, and in case the garage ever floods, there will be some room for water to flow before it reaches the items on the bottom shelf.
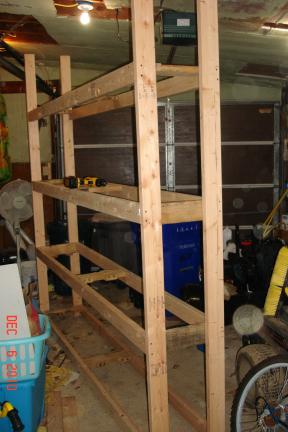 The shelves in the pictures look pretty narrow, but are actually 16" deep.
Most of our rubber tubs we put onto the shelves only require 16" deep shelves with a 20" height clearance, and I didn't want to take up more room in the garage with overly deep shelves.
If you look closely you can see the cross bars made out of the recycled wood pallets. My yellow drill is sitting on top of one of the cross bars.
Now that the basic frame is built, I ripped the OSB board into 16" widths, and placed them on to of each shelf's framework.
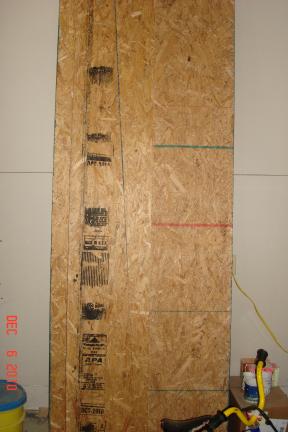
In the picture below, you can see the bottom shelf has it's OSB board in place already. OSB has two sides, a rough side, and a smooth side. I made sure to put the smooth side facing up.
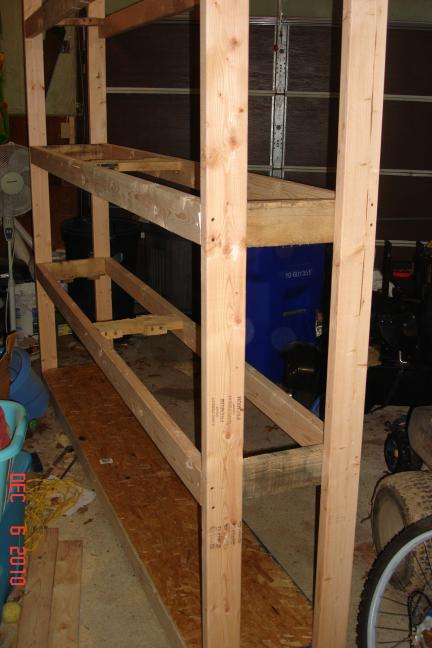
After putting all the OSB into place for each of the shelves, the unit was complete.
Time to move the old shelves out of the way, and slide the new ones into place.
You can see the new shelves are much stronger, taller, and wider which is going to hold a lot more gear than the previous shelves.
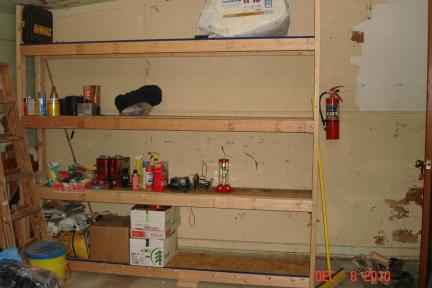
Total time to construct, about 2 hours.
If you headed into the store and wanted to buy a shelf for your garage/workshop/basement you'll find plenty of plastic/metal shelves half this size, starting around $50.00 and up.
My total cost was less than $40, and I even have extra materials to use in future projects.
The workshop downstairs is a nice place to store stuff, but it's getting a little crowded. The garage has shelves, but they're small, overcrowded, and don't hold a lot of weight.

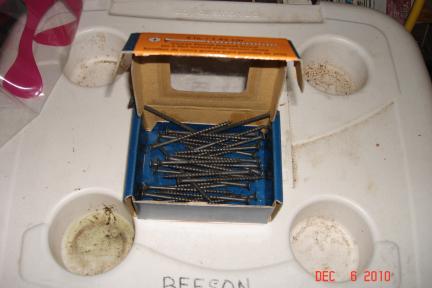
We took a trip to the hardware store, and purchased the following items:
- (12) 2" x 4" x 8'
- (2) 4' x 8' x 1/2" OSB
- (1) box 3" wood screws


 I have a stack of oak pallets from another project, so I cut up some of the extras, which I used as cross-beam support on the shelves.


To start I built a basic frame for the shelves, leaving the bottom shelf 1 inch off of the floor, to allow air flow under the bottom shelf, and in case the garage ever floods, there will be some room for water to flow before it reaches the items on the bottom shelf.
 The shelves in the pictures look pretty narrow, but are actually 16" deep.
Most of our rubber tubs we put onto the shelves only require 16" deep shelves with a 20" height clearance, and I didn't want to take up more room in the garage with overly deep shelves.
If you look closely you can see the cross bars made out of the recycled wood pallets. My yellow drill is sitting on top of one of the cross bars.
Now that the basic frame is built, I ripped the OSB board into 16" widths, and placed them on to of each shelf's framework.
In the picture below, you can see the bottom shelf has it's OSB board in place already. OSB has two sides, a rough side, and a smooth side. I made sure to put the smooth side facing up.

After putting all the OSB into place for each of the shelves, the unit was complete.
Time to move the old shelves out of the way, and slide the new ones into place.
You can see the new shelves are much stronger, taller, and wider which is going to hold a lot more gear than the previous shelves.

Total time to construct, about 2 hours.
If you headed into the store and wanted to buy a shelf for your garage/workshop/basement you'll find plenty of plastic/metal shelves half this size, starting around $50.00 and up.
My total cost was less than $40, and I even have extra materials to use in future projects.
Comments For This Post: (0) Be The First! | Post Your Comments! Hide The Comment Form