Building Slatted Racks
I didn't realize what a difference slatted racks make on bee hives until I compared several hives without them against several hives with them in our apiaries during this past season.
The hives with slatted racks raised brood much lower in the bottom box than those without slatted racks. The hives with slatted racks also seemed not to beard quite so much in comparison to those without slatted racks.
BeeSource.com has directions for making slatted bottom racks for standard 10 frame Langstroth hives on their website.
The schematics in the directions are pretty good and I only have a few tips to include if you decide to make them yourself.
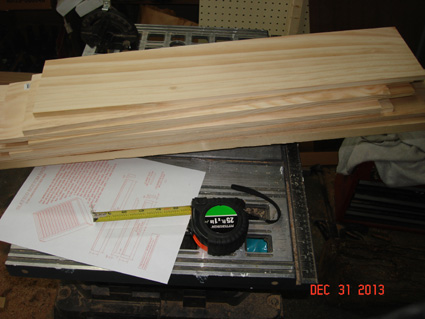
The slats are made from 3/8th inch thick wood. You can by standard 1" thick wood and plane it down, but I found it easier to go to the section of Home Depot or Lowes that sells "craft wood". You can get the wood in 3/8th inch thick boards that are ready to use.
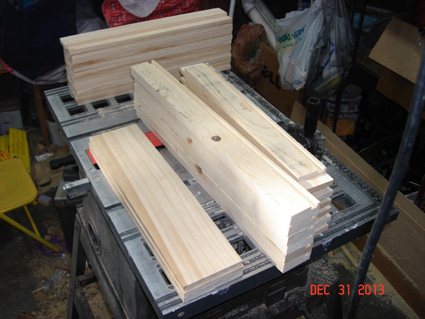
The plans require making several rabbet and housing joints in order to build the frame and hold the slats in place.
For this project, I chose not to use my router and instead did all the work on my table saw without the use of a dado blade.
I'm sure it's obvious for most who have a workshop, but in case it helps someone, here's a video on how I made the cuts using a standard table saw blade.
Once the cuts were all made, it was just a matter of putting it together.
What made the assembly really quick was to use extra slats to help in spacing the slats being assembled. Each slat being 3/8ths of inch thick was perfect for the 3/8th inch spacing required.
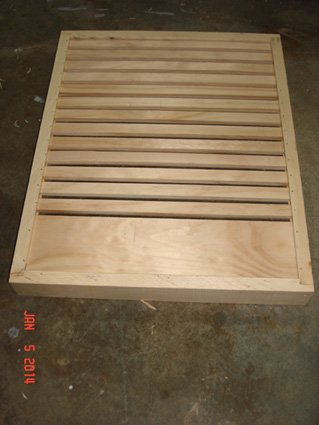
With a little glue and brads, I had three of them nailed together in about 15 minutes.
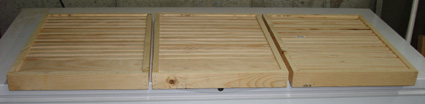
When the weather warms up a bit I'll paint these in the garage. For now it's too cold to paint and I'll leave them in storage with my other bee equipment.
Update: As James mentions in the comments below, the DIY plans on BeeSource.com are (at the time of this writing) an older style of slatted racks with the slats running left-to-right. Newer style slatted racks have the slats running front-to-back so they alight with the frames of the hive, allowing varroa to fall through the slatted racks instead of landing directly onto the slats. Thanks James for pointing out the new design!
The hives with slatted racks raised brood much lower in the bottom box than those without slatted racks. The hives with slatted racks also seemed not to beard quite so much in comparison to those without slatted racks.
BeeSource.com has directions for making slatted bottom racks for standard 10 frame Langstroth hives on their website.
The schematics in the directions are pretty good and I only have a few tips to include if you decide to make them yourself.
The slats are made from 3/8th inch thick wood. You can by standard 1" thick wood and plane it down, but I found it easier to go to the section of Home Depot or Lowes that sells "craft wood". You can get the wood in 3/8th inch thick boards that are ready to use.
The plans require making several rabbet and housing joints in order to build the frame and hold the slats in place.
For this project, I chose not to use my router and instead did all the work on my table saw without the use of a dado blade.
I'm sure it's obvious for most who have a workshop, but in case it helps someone, here's a video on how I made the cuts using a standard table saw blade.
Once the cuts were all made, it was just a matter of putting it together.
What made the assembly really quick was to use extra slats to help in spacing the slats being assembled. Each slat being 3/8ths of inch thick was perfect for the 3/8th inch spacing required.
With a little glue and brads, I had three of them nailed together in about 15 minutes.
When the weather warms up a bit I'll paint these in the garage. For now it's too cold to paint and I'll leave them in storage with my other bee equipment.
Update: As James mentions in the comments below, the DIY plans on BeeSource.com are (at the time of this writing) an older style of slatted racks with the slats running left-to-right. Newer style slatted racks have the slats running front-to-back so they alight with the frames of the hive, allowing varroa to fall through the slatted racks instead of landing directly onto the slats. Thanks James for pointing out the new design!
Comments For This Post: (11) | Post Your Comments!
Hide The Comment Form
