Two New Nuc Boxes Ready for Spring
I've decided I'm not interested in making increase this year, the hives I have at home are a good amount for me at this time.
Instead of making splits in the spring and allowing them to grow into full size hives, I'm going to keep them as 5 frame nucs throughout the year.
I've always wanted to keep a nuc or two on hand for "queen insurance" if you will. That way if I loose a queen in the middle of the year or late fall, I can take the queen from a nuc.
Knowing I'm going to keep the nucs around for the entire year, I've decided to make some beefed up nuc boxes while I'm waiting for spring to arrive.
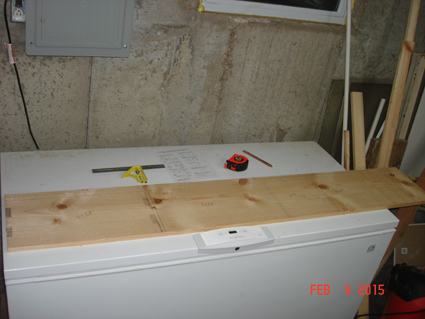
I started with a (1" x 12" x 8') pine board from the store, and was able to make almost all the pieces for a nuc from the single board.

I had to work around a couple of knots in the wood, and leave that area as un-used for the nuc (it was used as fire starter in the fireplace though).
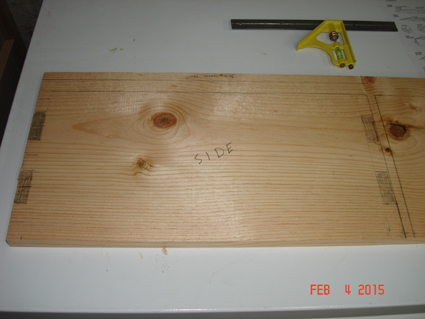
I marked out the areas for the box joints and then used a table saw to cut them out. I set the depth on the blade to 3/4" and then clamped the pieces together and ran them through the saw in small single cuts at a time, moving the pieces over slightly to widen the joints since I don't have a dado blade.
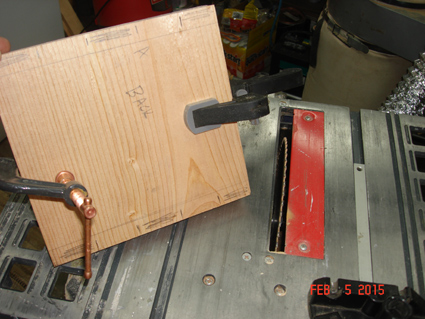
Once the pieces were all cut, I gave them 3 coats of white outdoor paint.

While I waited for the paint to dry, I found some scrap metal roofing flange from this summer's project of building a covered porch onto the house.
I had just enough scrap left over to make two metal covers for the telescoping covers.
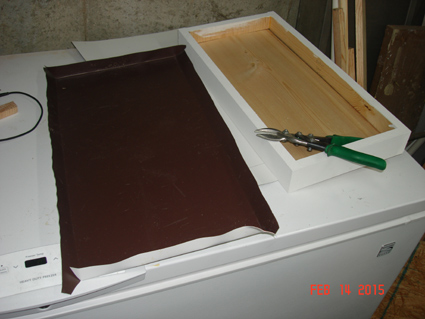
The scraps I had was brown on one side and white on the other. I turned it upside down, white side out, made some cuts and stapled it to each of the telescoping covers.

I also added some screen to the opening in the screened bottom board.
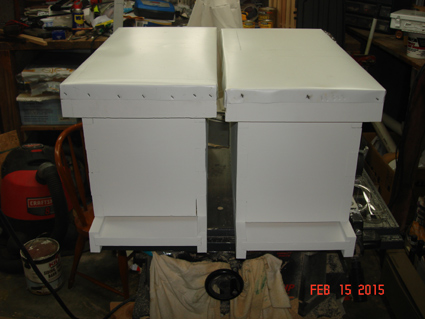
Now the two 5 frame nuc boxes are ready for spring splits and two "queen insurance" policies.
I'm still debating, I might make a hive top feeder to go with the nucs.
For a printable set of the directions I used, you can find them here on BeeSource.com.