Making Honey Extracting Buckets
We're about to extract our honey this year, and one of the things we didn't have yet was buckets to filter the honey in and to let it settle before bottling it.
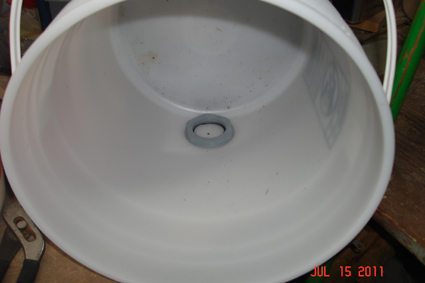
Typically when using an extractor, the honey flows from the extractor into a bucket with filter. Then the honey can either sit in this bucket, or be filtered again and flowed into another bucket to settle and allow the air bubbles to rise before bottling.
I ordered two honey gates from Brushy Mountain and they arrived fairly quick.

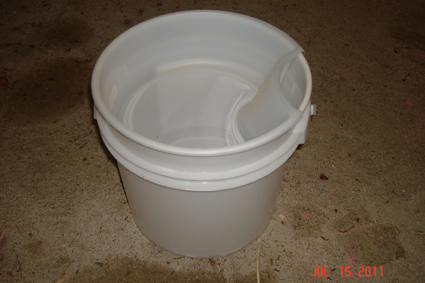
I went to my local donuts shop and bought some of the buckets and lids that they have for sale. They are food grade buckets that their sugar frosting comes in, and they sell them for $1 when they're empty.
These particular honey gates require a 1 13/16th inch hole in the bucket to make a tight seal.
To determine where to drill the hole, I took the plastic nut that is designed to go inside the bucket, and placed it as close to the bottom as I could, while still allowing it to turn. The I traced around the inside of the nut, and placed a black dot in the center.
From the outside of the bucket, you can see the traced outline and center black dot I made from the inside.
I used a 1 3/4 inch hole saw, which is only 1/16th of an inch smaller than required. I figured by the time my old hole saw wallowed out the opening, it would fit perfect. This was one time I was grateful for a beat up hole saw that wasn't going to make an exact cut.

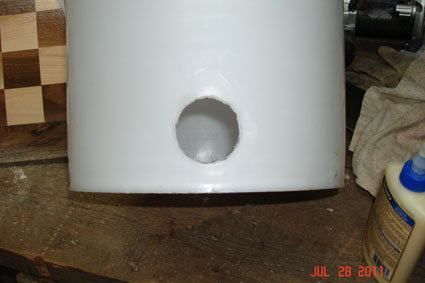
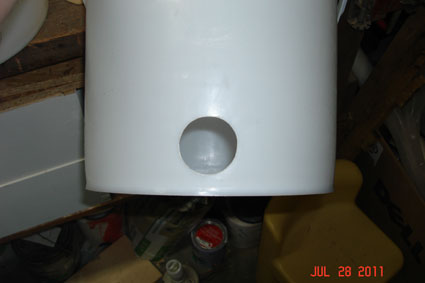
This is a picture of the hole cut in the bucket, from the outside point of view.
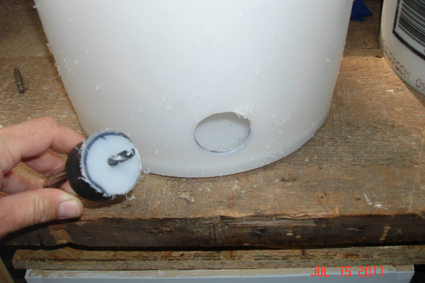
After carefully using a knife to trim the melted plastic that beaded up on the lip of the opening, the honey gate was able to fit perfectly into the hole without any extra room to spare.
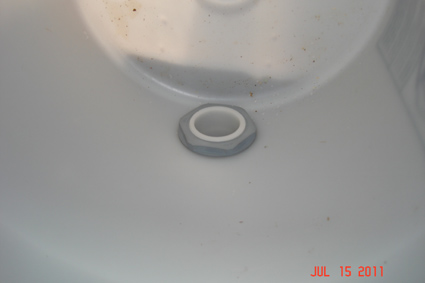
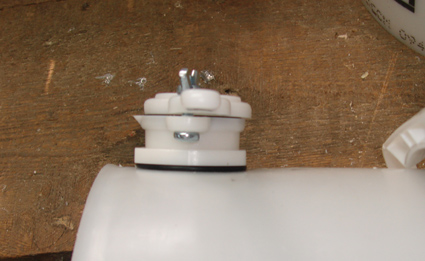
You can see from the inside, how the gate was as low as possible, while still allowing the inside nut to turn and tighten.
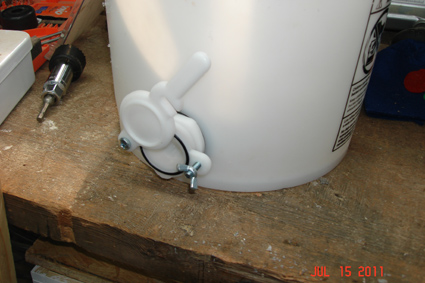
I'd had concerns about how the honey gate seal would work against a round bucket. As I began to tighten the inside nut of the honey gate however, I saw the wall of the bucket was flexible enough to cause it to flatten out slightly and form a perfect seal with the provided gasket on the outside of the honey gate.
In the picture below, you can see how the side of the bucket flexed slightly and became flat around the honey gate and allowed the seal to work.
I filled the bucket up to the top with water, and let it sit for a few minutes. The seal around the bucket, and the seal around the honey gate/door held the water without leaks. I figure if it can hold water, it will surely hold a more viscous liquid like honey.
Had this water test failed, I was prepared to purchase food grade silicone sealant or even a section of gasket that I would cut out to put on the inside between the bucket and the inside nut. Thankfully, it looks like I won't be needing either. I guess I should have had more faith in the manufacture's design. :)
At the recent EMBA club, they discussed using paint strainers that fit into 5 gallon buckets as one inexpensive method to filter the honey as it flows from the extractor.
I went to my local paint store, and got a couple of paint strainers that fit into the buckets perfectly for $4 each.
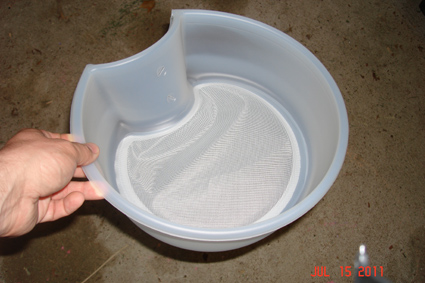
Since I'm not a professional painter, I'm not sure what the purpose of the strainers having a recessed portion on one side for, but I'll just be sure to face that side of the strainer away from the extractor.
I can't wait to use these buckets and strainers as part of our first honey extraction!
Update: While making additional buckets, I decided to try a different technique to smooth out the rough opening left by the hole saw.
To smooth it out, I used a rotary tool with a sanding disk to smooth the opening, which also allowed me to enlarge it to the exact diameter I was looking for.
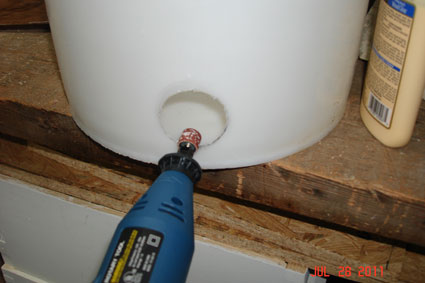
It's a much smoother hole, and I don't have to worry about any rough opening ruining the threads on the honey gates.
Comments For This Post: (6) | Post Your Comments!
Hide The Comment Form
